Sending and Receiving Email in Node.js and TypeScript in 2023
In this article, we'll cover a couple of ways to send email in Node.js and TypeScript. Following this we'll outline a quick and easy way to receive email with CloudMailin.
To get some SMTP credentials to send and receive emails, you can signup for a free CloudMailin account.
Sending email with Nodemailer via SMTP
Nodemailer provides a great library to get started sending email with Node.js. We'll start by installing Nodemailer using NPM.
npm install --save nodemailer
Nodemailer doesn't have TypeScript types by default. If you're using TypeScript we'll need to install the types from the DefinitelyTyped repo:
npm install --save @types/nodemailer
Installing the package will provide the expected types for Nodemailer. We're going to write all of the examples in TypeScript. However, it should be relatively clear how to use Javascript instead if required.
Creating a transport
Once we've added Nodemailer to our Node.js app we can use the following to setup the SMTP transport:
import nodemailer from "nodemailer";
import Mail from "nodemailer/lib/mailer";
// const nodemailer = require("nodemailer");

async function main() {
  const = "hostname from account page";
  const = "username from account page";
  const = "password from account page";

  const transporter = nodemailer.createTransport({
    host: hostname,
    port: 587,
    secure: false,
    requireTLS: true,
    auth: {
      user: username,
      pass: password,
    },
    logger: true
  });
Here we imported Nodemailer but also the Mail type so that we can make use of types later.
Currently, most email servers use the STARTTLS command rather than a specific port for
secure connections. In order to make sure that nodemailer calls STARTTLS we need to
set secure: false and requireTLS: true. This means that we open the connection
in Plain text and immediately upgrade to a more secure TLS connection.
We've also set the hostname and port and enabled the logger to help to debug any issues.
Sending the email
Once we've created our SMTP transport, we can actually send an email from our Node application using the following:
  // send mail with defined transport object
  const info = await transporter.sendMail({
    from: '"Sender Name" <from@example.net>',
    to: "to@example.com",
    subject: "Hello from node",
    text: "Hello world?",
    html: "<strong>Hello world?</strong>",
    headers: { 'x-myheader': 'test header' }
  });

  console.log("Message sent: %s", info.response);
}
The above code constructs an email with both a Plain and HTML part and sets the subject.
Additional headers can be specified using the headers parameter, which we use here to set
x-cloudmta-class to standard.
This code prints the SMTP response (the output from the call) to the console once finished. That's it! We've just sent our first Hello World email over SMTP.
Sending email via the CloudMailin API
SMTP has a number of benefits. However, it's a pretty verbose protocol. It's not unheard of, even when two systems are on the same network, for communication to take a second or two.
In order to send an email, the typical communication will take at least 6 commands, which then sit waiting for a response from the server before continuing. CloudMailin allows us to be much more performant than this. With CloudMailin we can send an email directly via an HTTP API.
Installing the CloudMailin Package
To get started with the HTTP API to send email we can use the CloudMailin NPM package.
npm install --save cloudmailin
With the package installed we need to create a client with the username and apiToken
(password) in a similar manner to setting the Nodemailer transport.
import { MessageClient } from "cloudmailin"

const client = new MessageClient({ username: USERNAME, apiKey: API_KEY});
const response = await client.sendMessage({
  from: '"Sender Name" <from@example.net>',
  to: "to@example.com",
  subject: "Hello from node",
  plain: "Hello world?",
  html: "<strong>Hello world?</strong>",
  headers: { 'x-myheader': 'test header' }
  attachments: [
    {
      "file_name": "pixel.png",
      "content": "iVBORw0KGgoAAAANSUhEUgAAAAEAAAABCAYAAAAfFcSJAAAADUlEQVR42mP0rdr1HwAFHwKCk87e6gAAAABJRU5ErkJggg==",
      "content_type": "image/png"
    }
  ]
});
Note: We've changed text for plain here compared to the SMTP example above.
Although the CloudMailin and Nodemailer packages have a similar form, the CloudMailin
parameters are named after our long-established inbound email.
We also added an attachment this time. The content field is simply a Base64 encoded
string with the content of a single-pixel png image (in CloudMailin blue).
That's it! Sending via the API is faster and we can see all of the details of the sent message in the returned JSON. The sendMessage function returns a promise with all the details. You can also see the details of the message within the CloudMailin dashboard.

Receiving Email
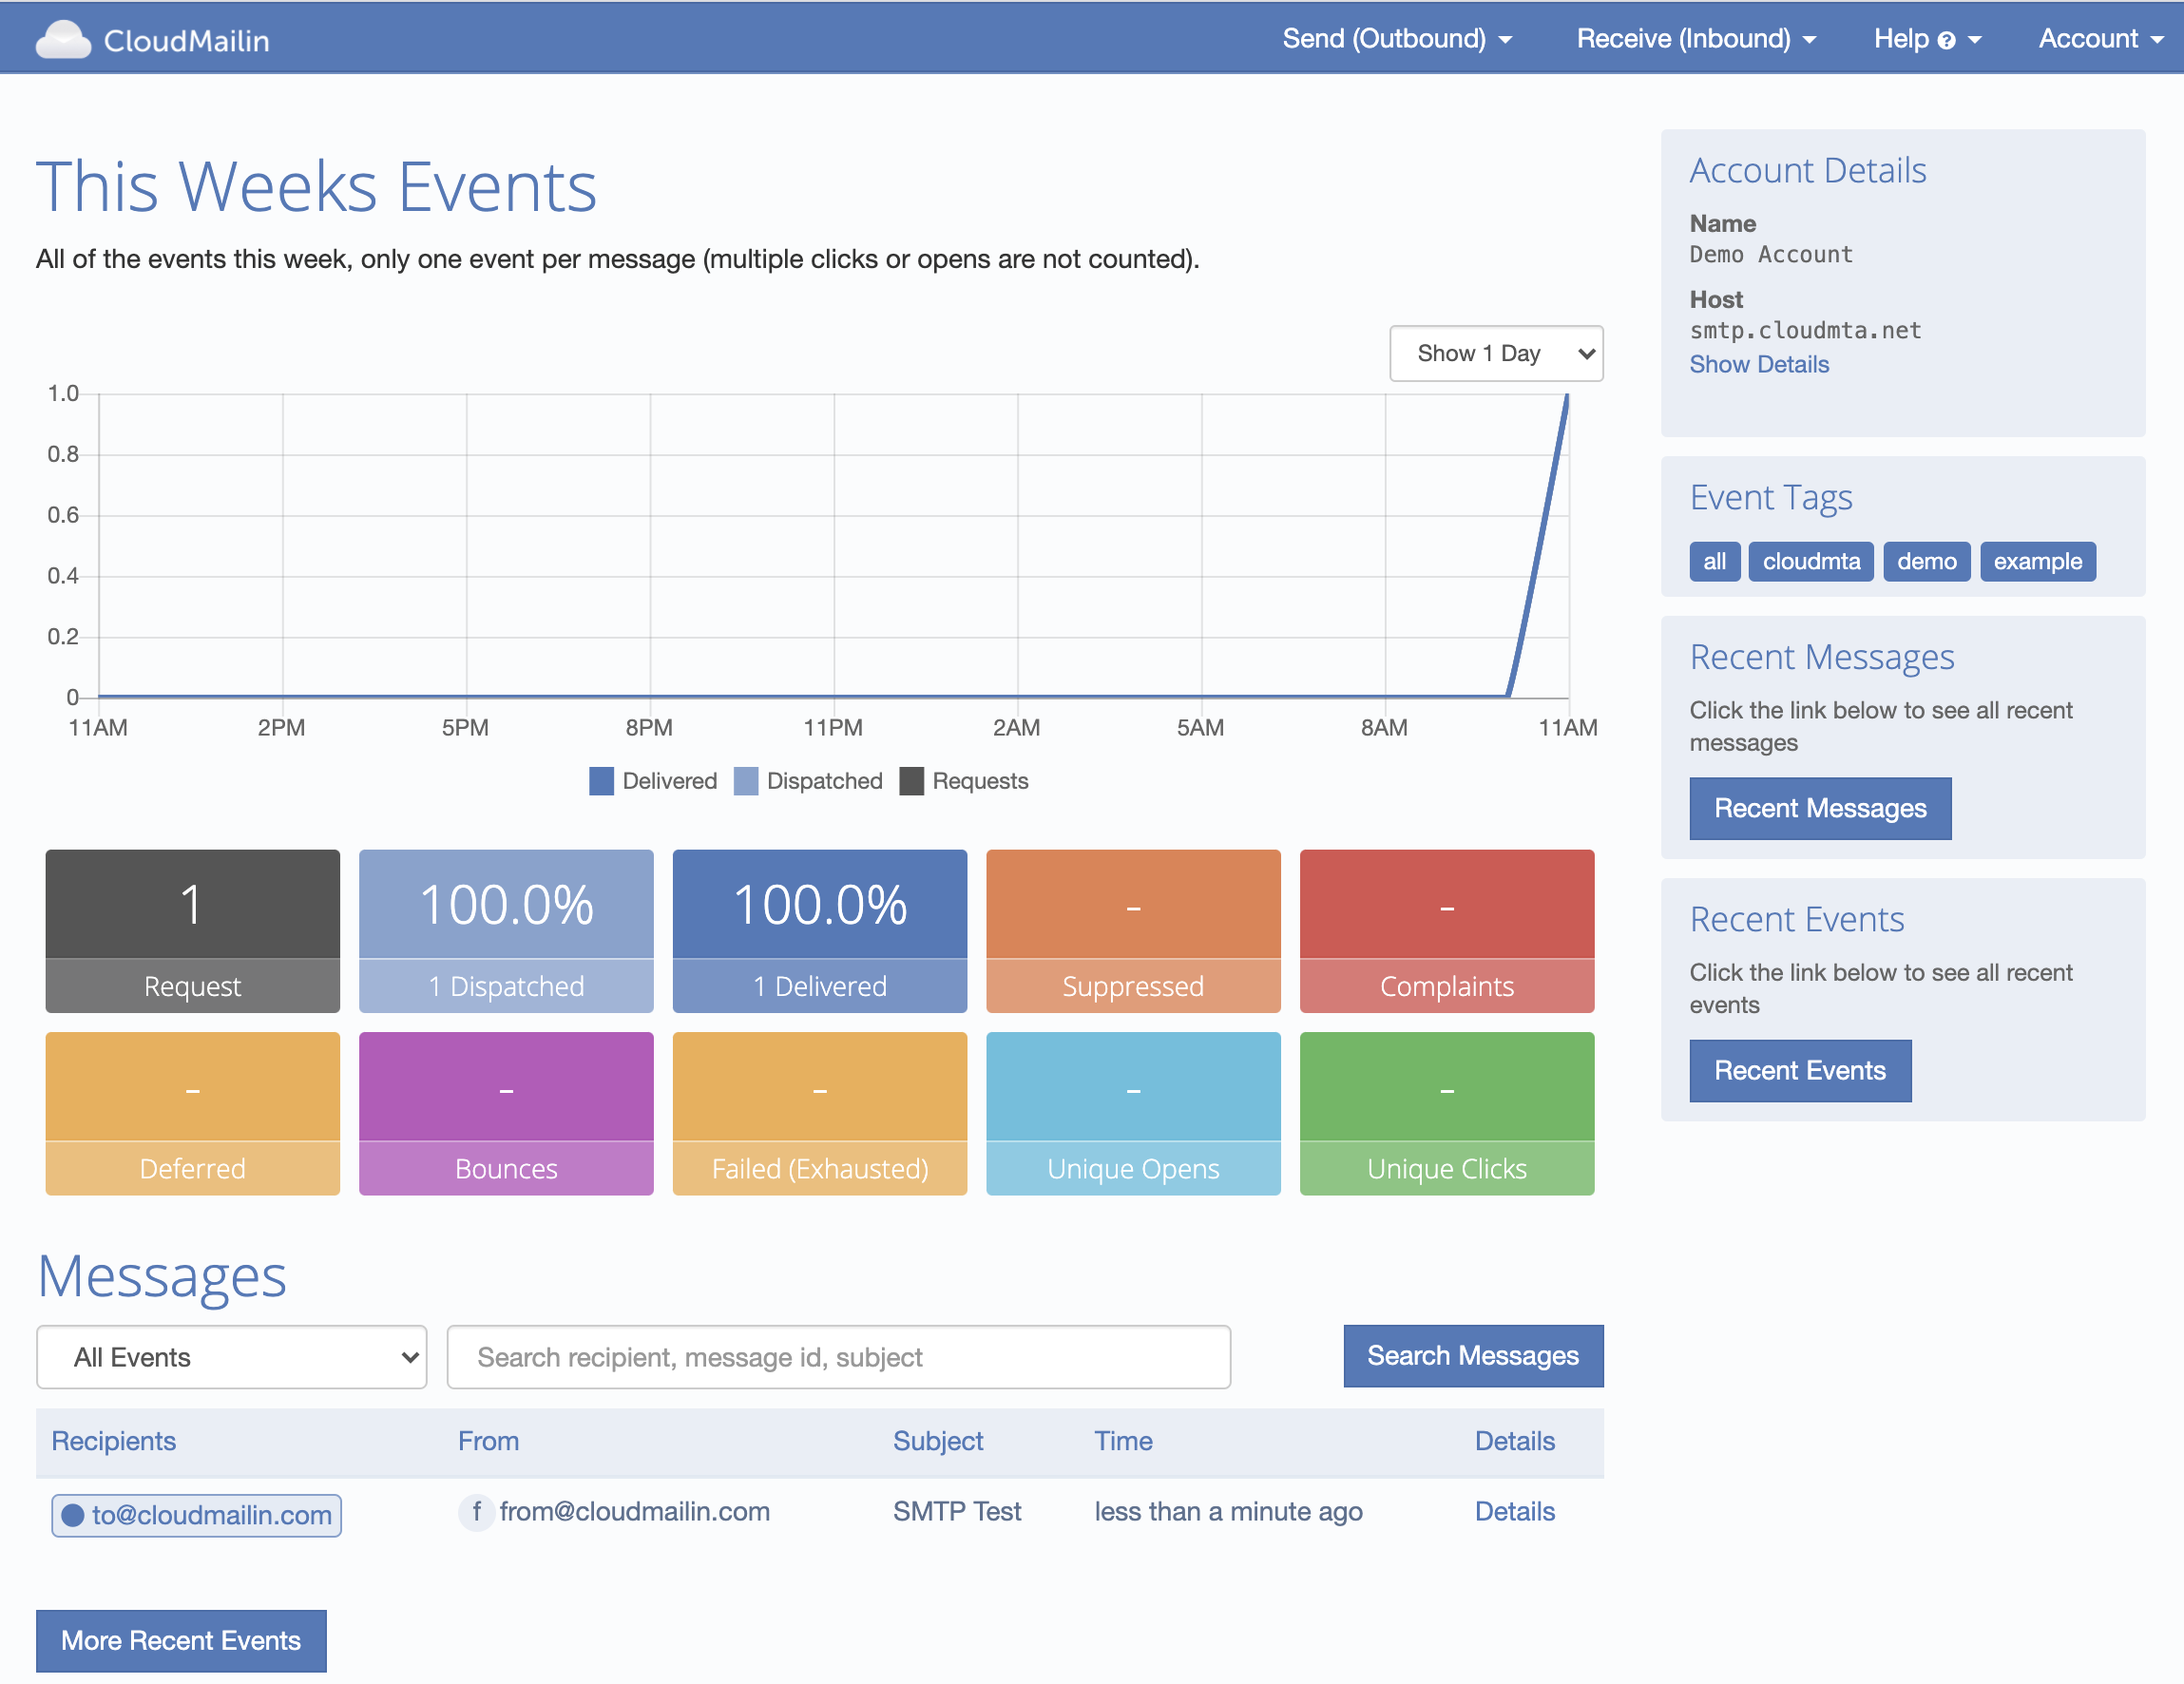
CloudMailin also makes it super easy to receive email in TypeScript with our new NPM package too.
npm install --save cloudmailin
With the package installed we get all of the types needed. Since CloudMailin sends emails to Web applications via HTTP POST we're going to give this example using express:
import express from "express";
import bodyParser from "body-parser";
import { IncomingMail } from "cloudmailin";
import fs from "fs";

const app = express();

app.use(bodyParser.json());

app.post("/incoming_mails/", (req, res) => {
  const mail = <InboundPOST>req.body;

  const body = mail.html || mail.plain;
  console.log(body)

  const attachment = mail.attachments[0];

  if (attachment.content) {
    const data: Buffer = Buffer.from(attachment.content, 'base64');
    fs.writeFileSync(attachment.file_name, data);

    return res.status(201).json({ status: `wrote ${attachment.file_name}` });
  }

  res.status(422).json({ status: "Content passed" });
});

app.listen(80, "0.0.0.0", () => {
  console.log(`server started http://0.0.0.0:80`);
});
This example receives the message body and writes the first attachment to disk. This gives a taster of the options. More details are available in the CloudMailin Node Documentation.
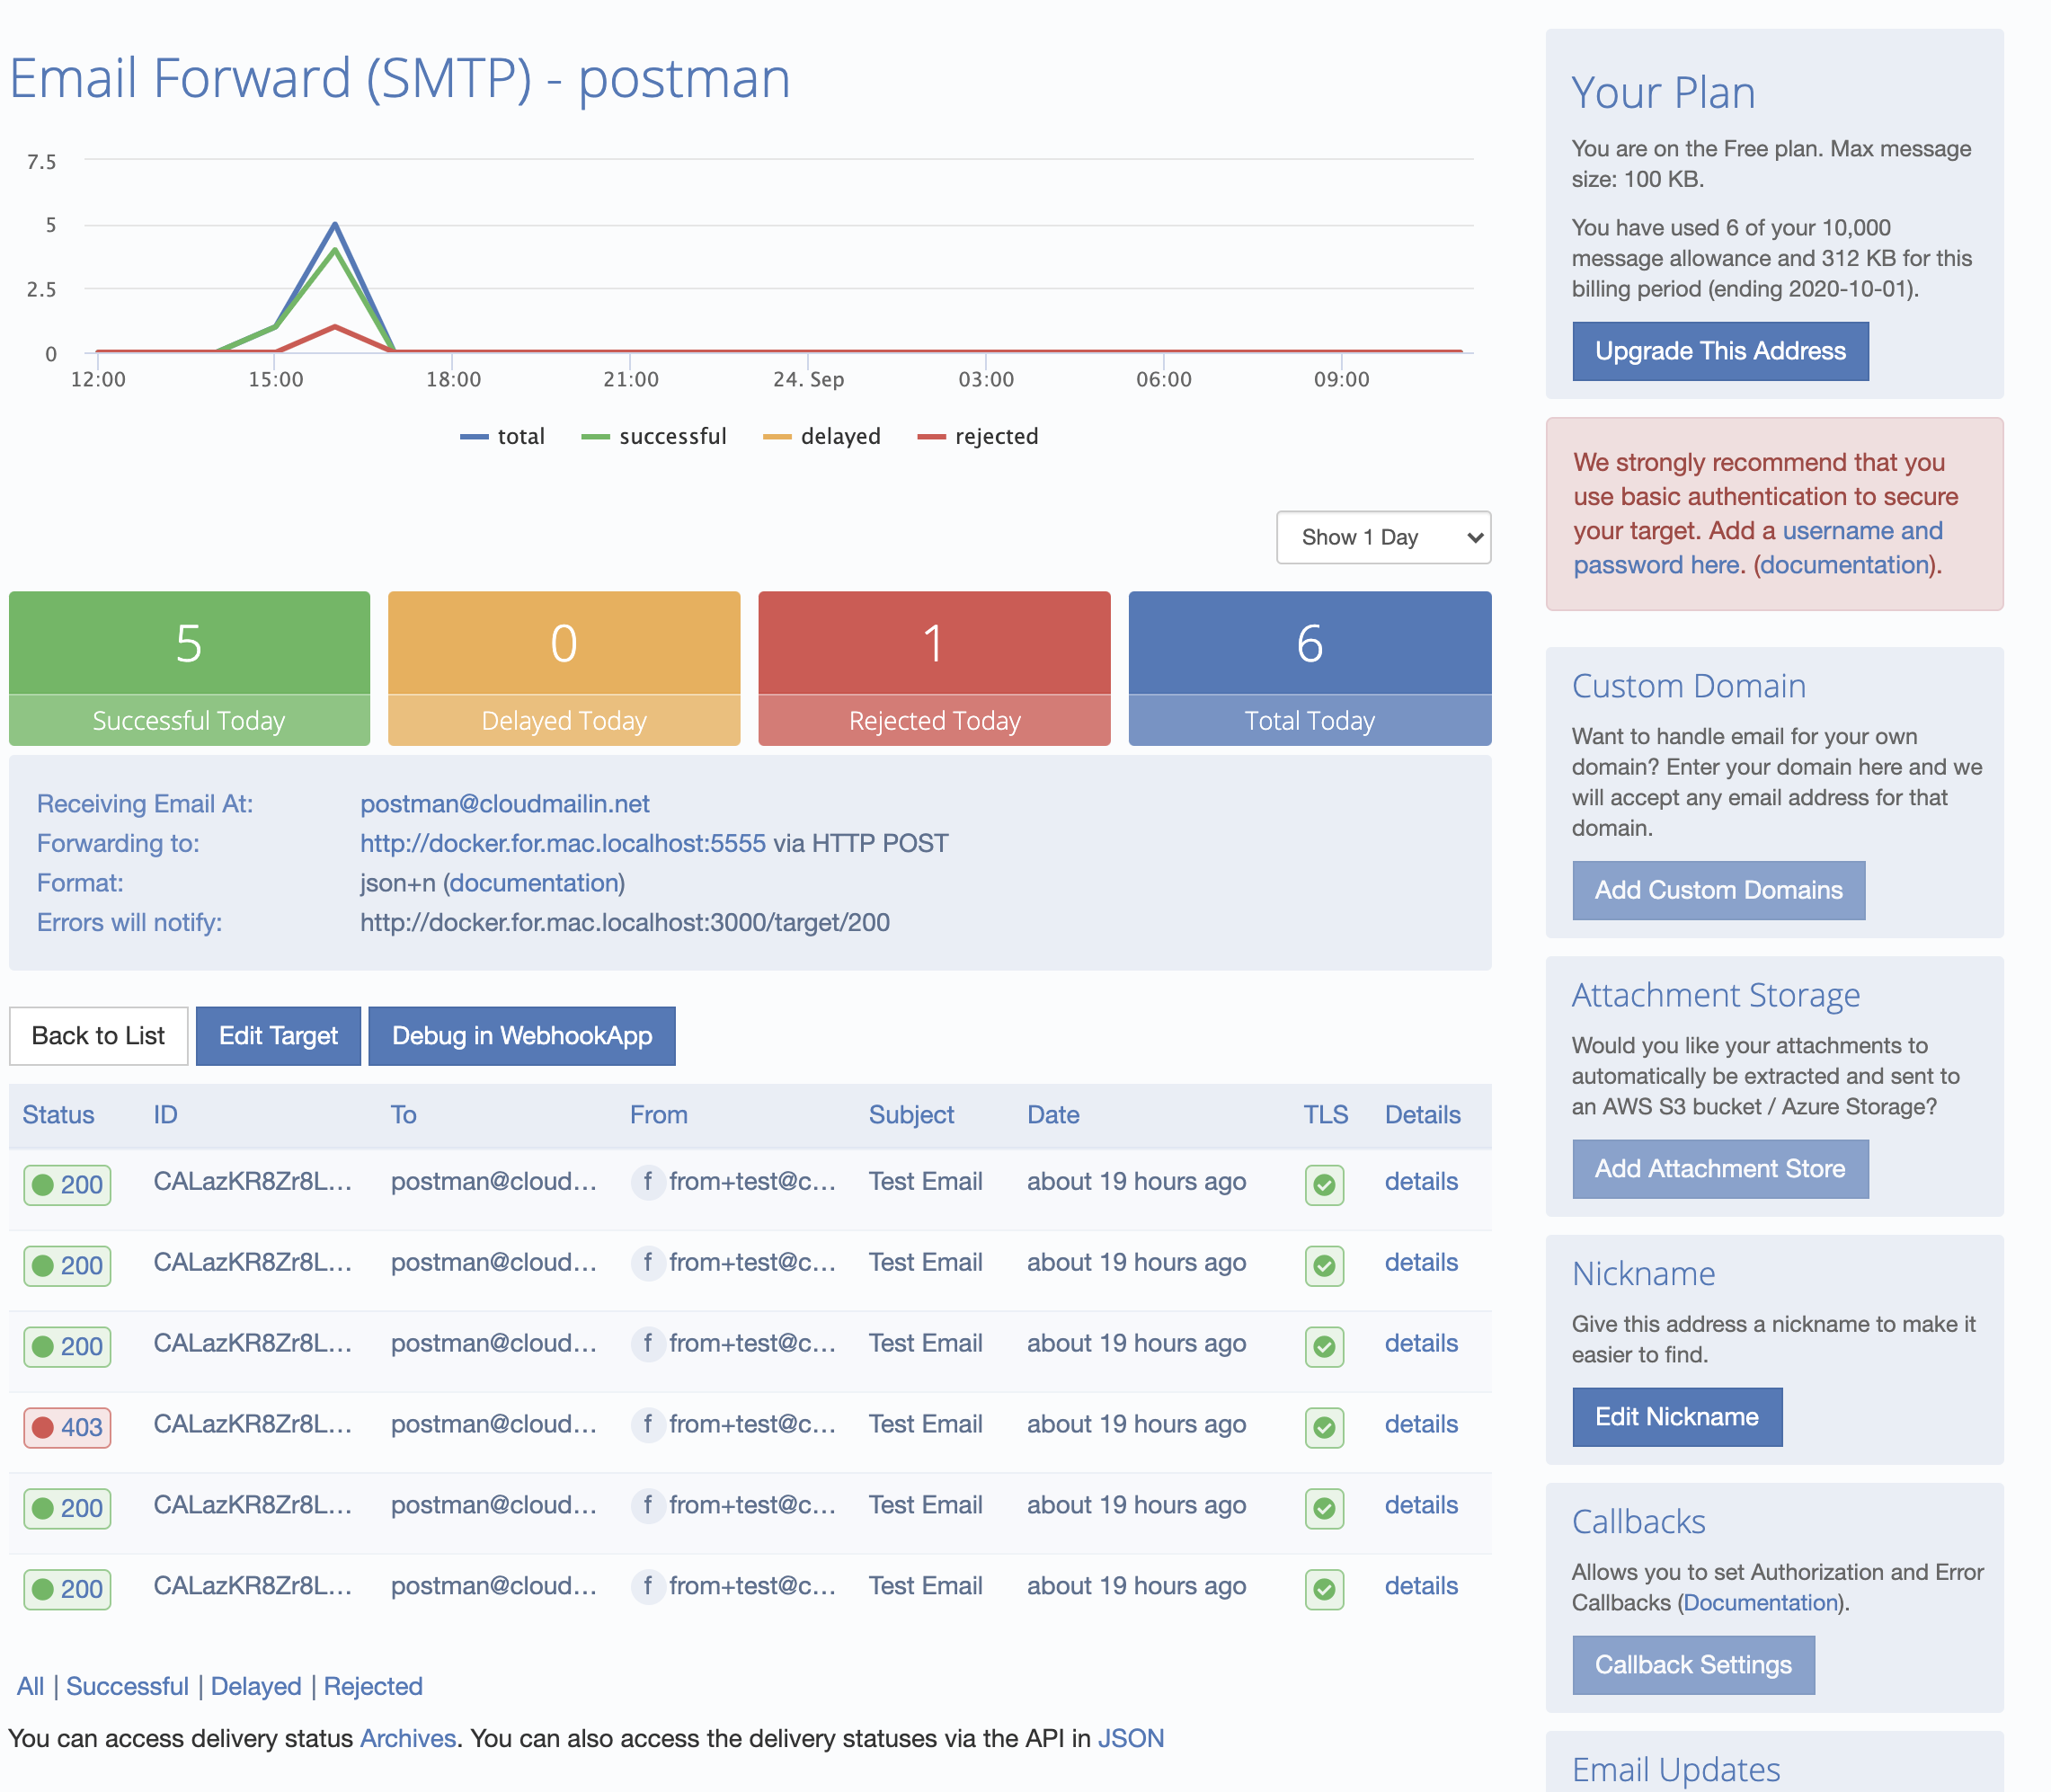
Now that we have our code in place we can test it out. Let's try sending an email to our Node JS application:

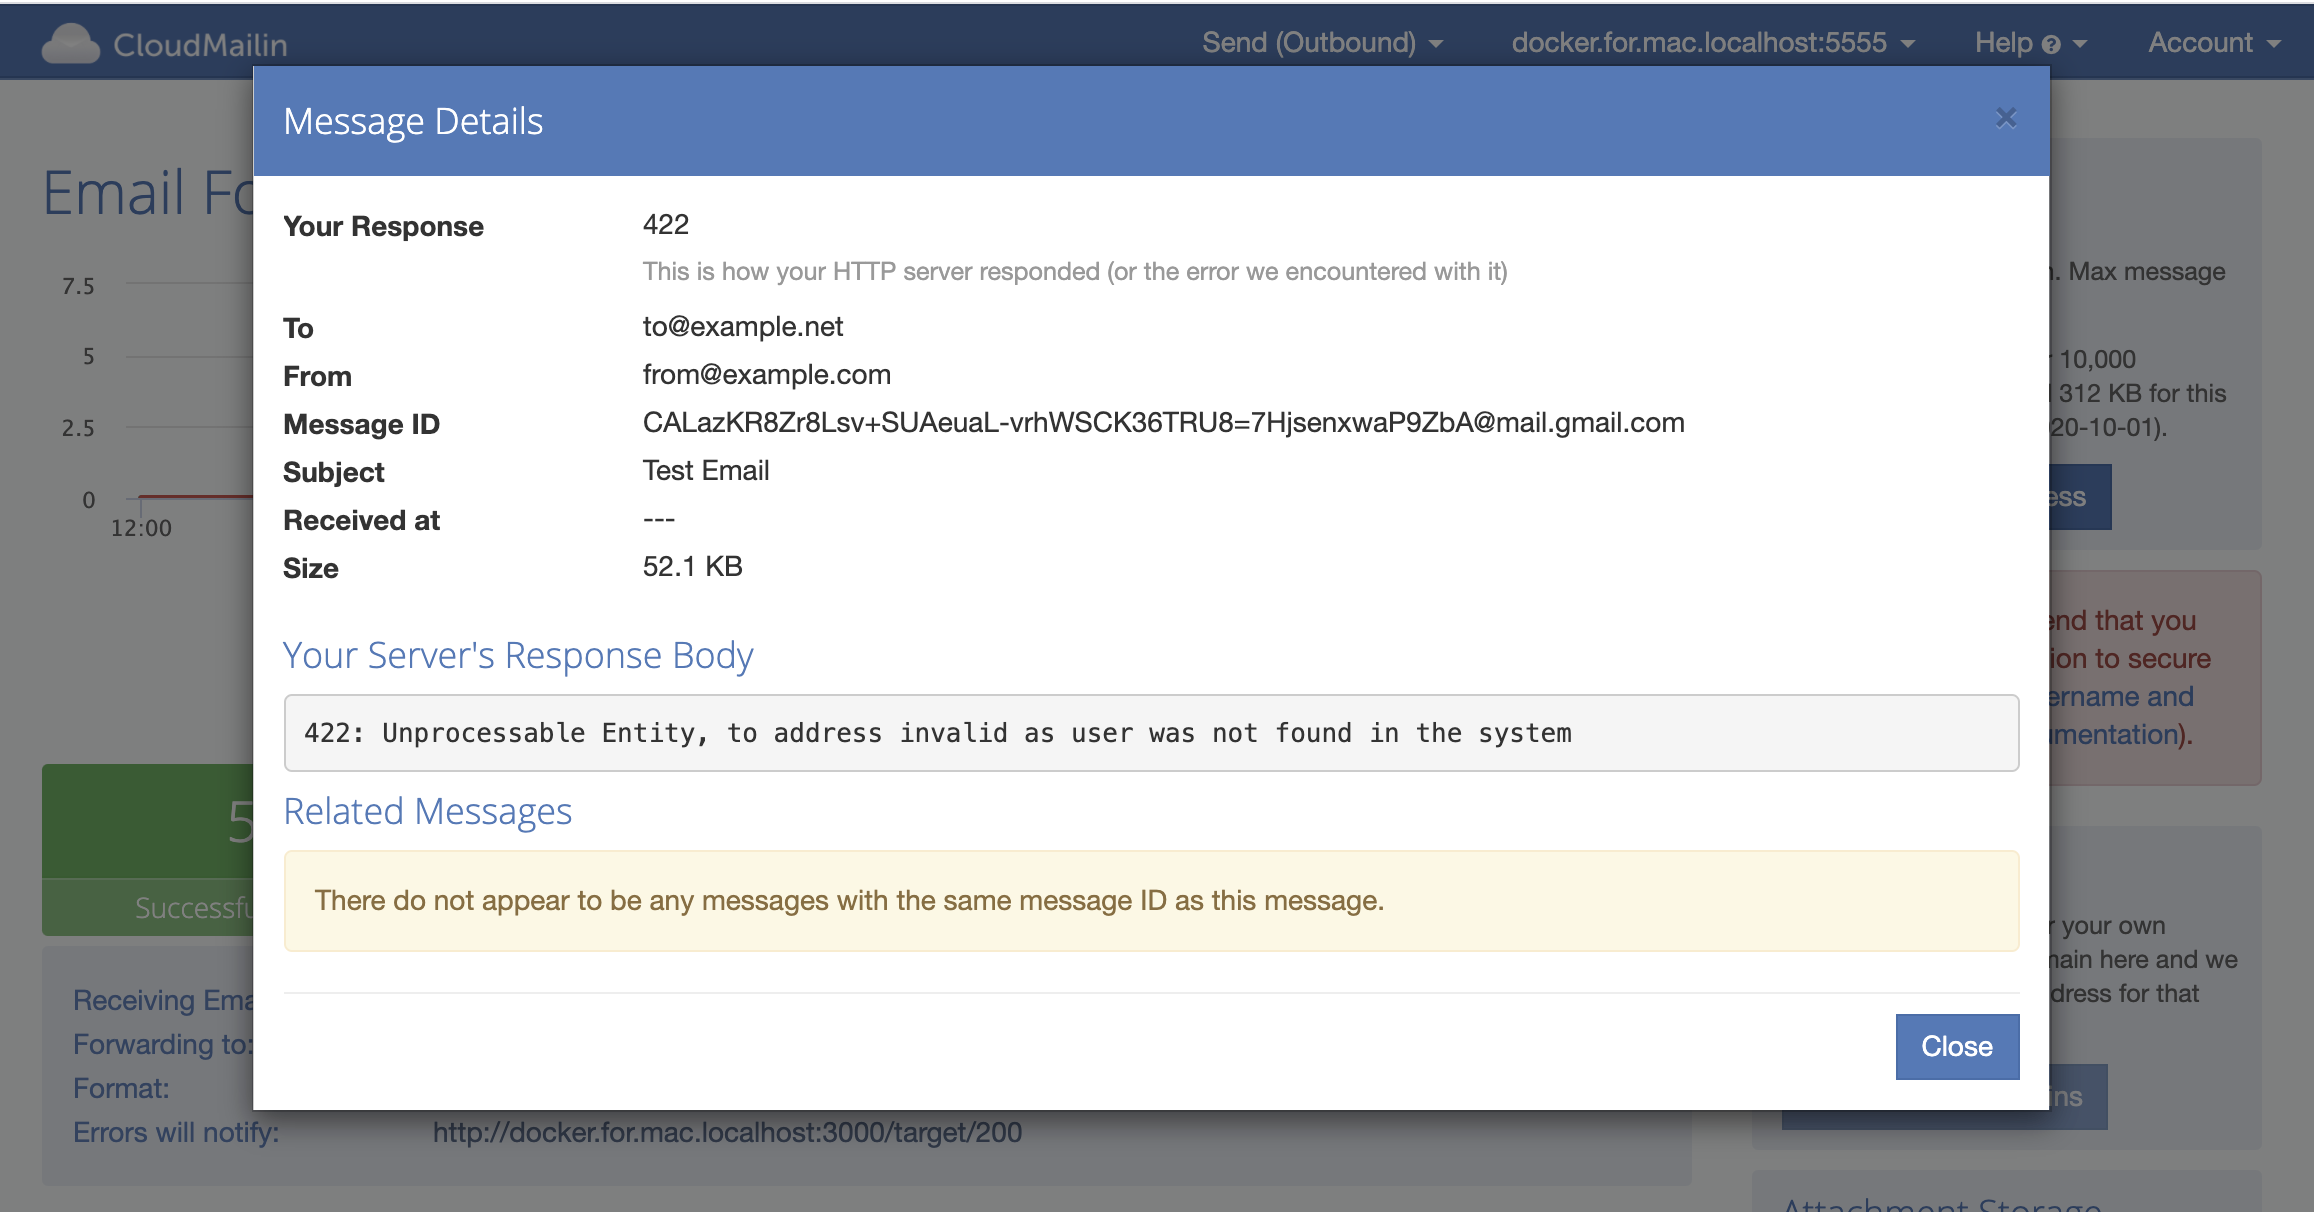
When we send an email, the details are listed in the dashboard. Here we can dig in and see the details. If the HTTP response of your server does not return a 2xx status code then the response will be recorded (see [Status Codes]):

That way we can debug any emails that don't appear as we expect. As always if you have any questions or want to give things a try feel free to [Contact Us].


