Using Basic Authentication with AWS API Gateway and Lambda
Basic authentication is one of the oldest and simplest ways to authenticate HTTP Traffic. Although it has been superseded by a range of different options it's still one of the easiest and most convenient methods, as long as you're using HTTPS.
It's important to note that Basic Auth doesn't provide any confidentiality protection for the transmitted credentials. They're not hashed or encrypted but sent in plain text. It's therefore recommended that HTTPS be used in conjunction with Basic Auth.
- What is Basic Auth
- The Lambda Authorizer Code
- Setting up API Gateway to use our function
- Bonus - Custom Error Pages
What is Basic Authentication?
At its root Basic authentication uses the Authorization header to send username:password encoded in Base64. The header for admin:password looks something like the following:
Authorization: Basic YWRtaW46cGFzc3dvcmQ=
Basic authentication sends the password in Base64 encoded form using the general HTTP authentication framework. The framework structure works as follows:

- The client makes a request
- The server returns a 401 response with a WWW-Authenticate header, causing the client to issue a username and password prompt.
- The client makes a new request with the Authorization header set.
- Credentials are checked and the server returns either a 2xx status or 403 if the user is forbidden to access the content.
More details about the HTTP Auth scheme can be found in the HTTP authentication docs.
Creating a Lambda Authorizer
To use Basic authentication, we'll create a custom AWS Lambda function. This example will use Node JS because most people are familiar with Javascript. However, Lambda supports a range of language runtimes.
exports.handler =  function(event, context, callback) {
    var token = event.authorizationToken;

    if (token == 'Basic YWRtaW46cGFzc3dvcmQ=') {
      return callback(null, generatePolicy('user', 'Allow', event.methodArn));
    }
    else {
      return callback(null, generatePolicy('user', 'Deny', event.methodArn));
    }
};

// Helper function to generate an IAM policy
var generatePolicy = function(principalId, effect, resource) {
    var authResponse = {};

    authResponse.principalId = principalId;
    if (effect && resource) {
        var policyDocument = {};
        policyDocument.Version = '2012-10-17';
        policyDocument.Statement = [];
        var statementOne = {};
        statementOne.Action = 'execute-api:Invoke';
        statementOne.Effect = effect;
        statementOne.Resource = resource;
        policyDocument.Statement[0] = statementOne;
        authResponse.policyDocument = policyDocument;
    }

    // Optional output with custom properties
    authResponse.context = {
        "userID": 1,
    };

    // Asign a usage identifier API Key if it's needed
    authResponse.usageIdentifierKey = "1C3uCXWZSQ8CJL2AbKyfY8B7sgekeI9F*****";

    return authResponse;
}
In the code above we're simply checking for an Authorization header matching out Base64 encoded username and password. If there is a match we'll create an allow policy, otherwise, we'll create a deny policy, which will return a 403 error.
The helper function creates a policy allowing API invocation for the API gateway method passed to the function. As a bonus, we're also setting some context parameters and the usageIdentifierKey.
The usageIdentifierKey can be used to apply usage limits from within the API gateway system. Both of these additions are optional and only the policyDocument and principalId are required.

To create the Lambda function we'll just head to AWS Lambda and create a new function.
Adding the function to API Gateway
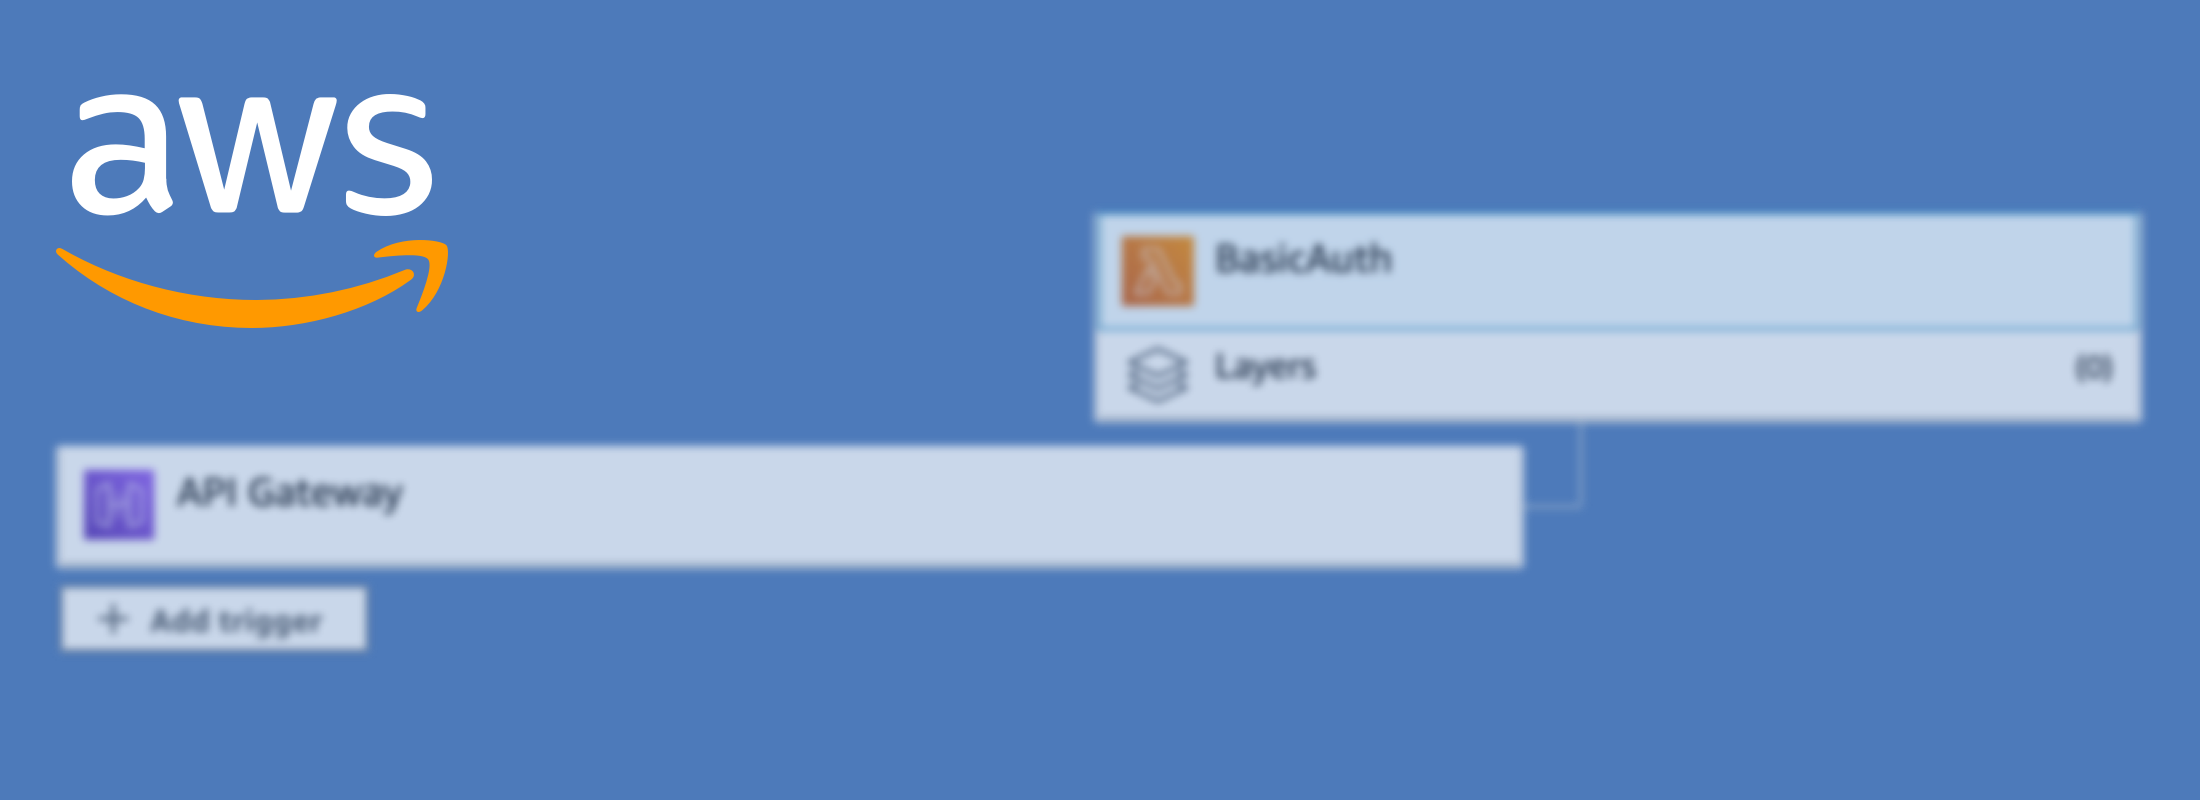
Now that we've created our Lambda function we'll go ahead and attach it to the API gateway:

When we add the authorizer we'll pass the Lambda function and specify that it's a Token Authorizer with the Authorization header.
With it added to the overall gateway we can then assign the Basic Authentication Authorizer to any of our API Gateway resources:

Now we need to deploy and then when we make our request to the API gateway we'll be shown a 401 status with an API Gateway UnauthorizedException:
{"message":"Unauthorized"}
Sending the request to the API Gateway with a Basic Auth username and password can be done like the following:
curl -i https://admin:password@xxxxx.execute-api.us-east-1.amazonaws.com
If the password is incorrect we'll see 403 AccessDeniedException:
{"Message":"User is not authorized to access this resource with an explicit deny"}
However, once our password is correct we'll get access to our API and we'll see the 200 status.
Bonus - Custom Error Pages
Finally in order to make our browser show the password prompt we'll need to add the WWW-Authenticate header to 401 requests in API Gateway.
If we head to Gateway responses we can click edit and add the required header with a value of 'Basic'.

With this set and deployed, the next time we call our API gateway without authentication we'll be prompted to provide the username and password.


